This is the second part of my series about starting with game-dev. The first part is chiptus.hashnode.dev/my-path-into-game-dev
I'm following the getting started tutorial of Phaser
The first step is to set up a new web project, create a folder, initialize a yarn project (or npm if you prefer that), and install http-server to run your web project. Probably in a more advanced project, I would use something like webpack or vite, but for now http-server should be enough.
mkdir first-project
cd first-project
git init
yarn init -y
yarn add -D http-server
git add .
git commit -m "init"
Installing phaser
I decided to install the 3.6 beta version, so I use the most updated version. I probably won't use any of the new features and might see some bugs on the way, but I like being on the bleeding edge (although this approach has many problems)
yarn add phaser@3.60.0-beta.9
I also added the following to my package.json so I can run yarn start to get my server started:
"scripts": {
    "start": "http-server"
}
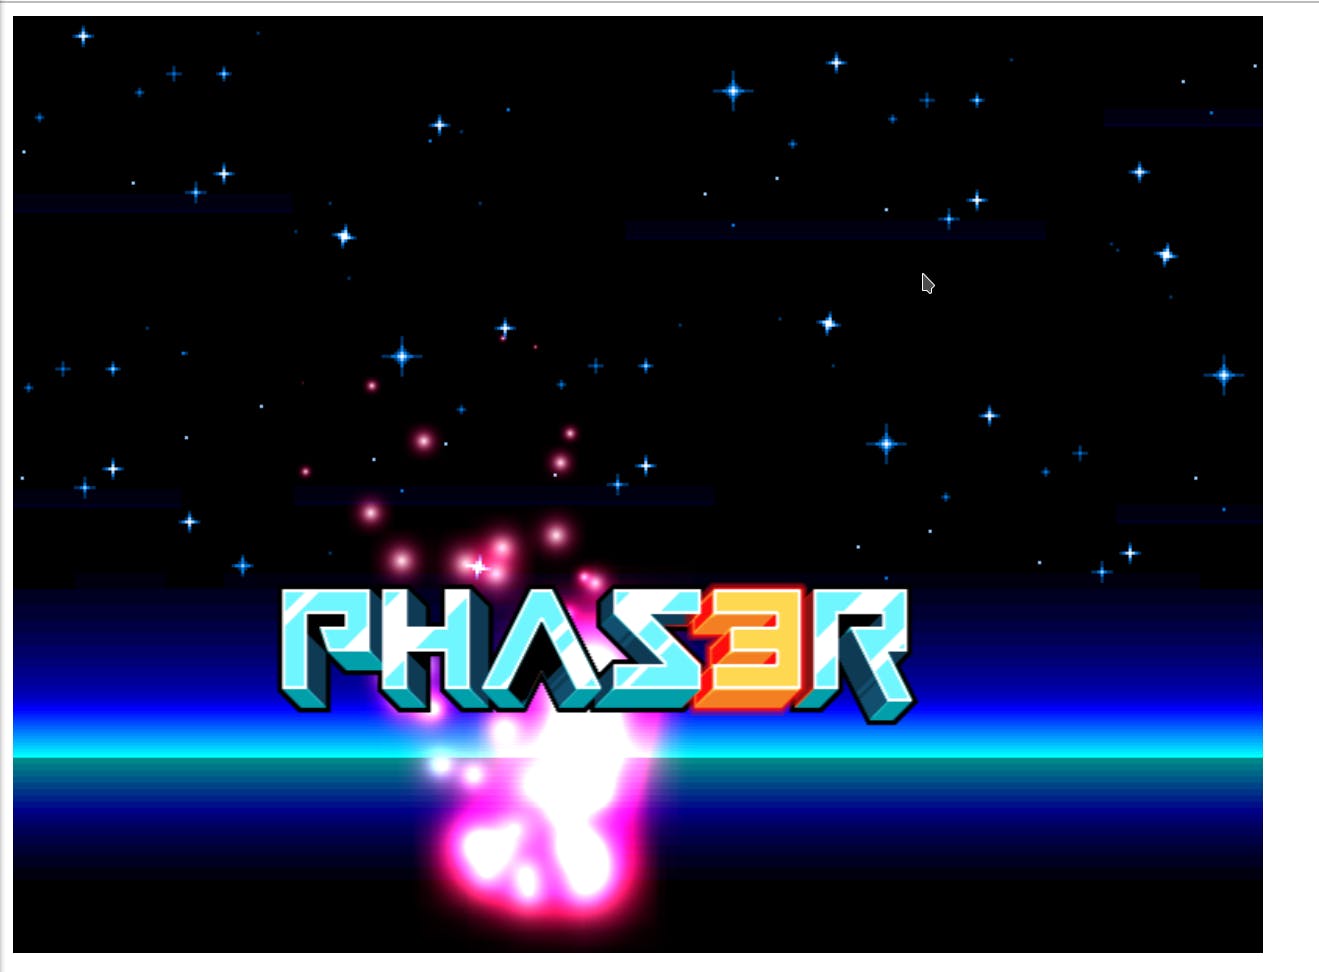
The tutorial has a sample html file, I copy-pasted it into index.html and ran yarn start, and opened the browser to localhost:8080, and now I got the following:

the html file actually contains only a script tag, let's try to understand it:
var config = {
    type: Phaser.AUTO,
    width: 800,
    height: 600,
    physics: {
      default: "arcade",
      arcade: {
        gravity: { y: 200 },
      },
    },
    scene: {
      preload: preload,
      create: create,
    },
};

var game = new Phaser.Game(config);

function preload() {
    this.load.setBaseURL("http://labs.phaser.io");

    this.load.image("sky", "assets/skies/space3.png");
    this.load.image("logo", "assets/sprites/phaser3-logo.png");
    this.load.image("red", "assets/particles/red.png");
}

function create() {
    this.add.image(400, 300, "sky");

    var particles = this.add.particles("red");

    var emitter = particles.createEmitter({
      speed: 100,
      scale: { start: 1, end: 0 },
      blendMode: "ADD",
    });

    var logo = this.physics.add.image(400, 100, "logo");

    logo.setVelocity(100, 200);
    logo.setBounce(1, 1);
    logo.setCollideWorldBounds(true);

    emitter.startFollow(logo);
}
The first object is a config object for Phaser:
var config = {
    type: Phaser.AUTO,
    width: 800,
    height: 600,
    physics: {
      default: "arcade",
      arcade: {
        gravity: { y: 200 },
      },
    },
    scene: {
      preload: preload,
      create: create,
    },
};
I'm guessing, that it config a new game, with a size of 800x600, a physics engine of an arcade game with a certain constant for gravity, and it tells the scene to run preload on preload and create on create.
I know this sentence doesn't say much, but I guess I'll learn soon the following:
- What is a physics engine?
- What is an engine for an arcade game?
- What is the gravity constant?
- What is a scene? I guess it's something like a game level?
- What are the preload and create events for a scene? Which other events does a scene have?
The next line will create the game object:
var game = new Phaser.Game(config);
The preload event probably runs before (i.e pre) loading:
function preload() {
    this.load.setBaseURL("http://labs.phaser.io");

    this.load.image("sky", "assets/skies/space3.png");
    this.load.image("logo", "assets/sprites/phaser3-logo.png");
    this.load.image("red", "assets/particles/red.png");
}
in this event, we load the assets that we need for this game and name them. Phaser has a list of assets that we can load examples from.
function create() {
    this.add.image(400, 300, "sky");

    var particles = this.add.particles("red");

    var emitter = particles.createEmitter({
      speed: 100,
      scale: { start: 1, end: 0 },
      blendMode: "ADD",
    });

    var logo = this.physics.add.image(400, 100, "logo");

    logo.setVelocity(100, 200);
    logo.setBounce(1, 1);
    logo.setCollideWorldBounds(true);

    emitter.startFollow(logo);
}
Now the create event is a bit less clear for me. Maybe it's the first event, that runs when the scene is created?
- We add the sky image, probably as our background.
- then add red particles: ![[Screenshot_20220807_214331.png]] labs.phaser.io/assets/particles/red.png
- now we create something called an emitter, not sure what it is.
- add the phaser logo, and add some physics to it, so it will move
- make our emitter follow the logo.
- This creates the final example
We can play around (and I encourage you to do that) with the parameters, hide code, and see what happens.
For example, commenting emitter.startFollow will leave the particles at the top left corner of the screen. And hiding the logo settings will just make it fall out of the screen.
Playing with setVelocity it seems like this function takes x,y parameters and they control the speed on the x axis or y axis. Playing with it a bit more, I see that I'm wrong.
That's a good start, and I feel close to understanding what I need for Pong. Although I can start reading the docs, I will go with another tutorial - phaser.io/tutorials/making-your-first-phase..

